Recording a Manual Fusion with the DataLogger®

Documenting operator and machine information, material details, standards used, and GPS locations of a manual fusion is all possible with the DataLogger.

1. Choose your fusion machine during the job setup process.

The software will adapt the recording process based on your machine selection.
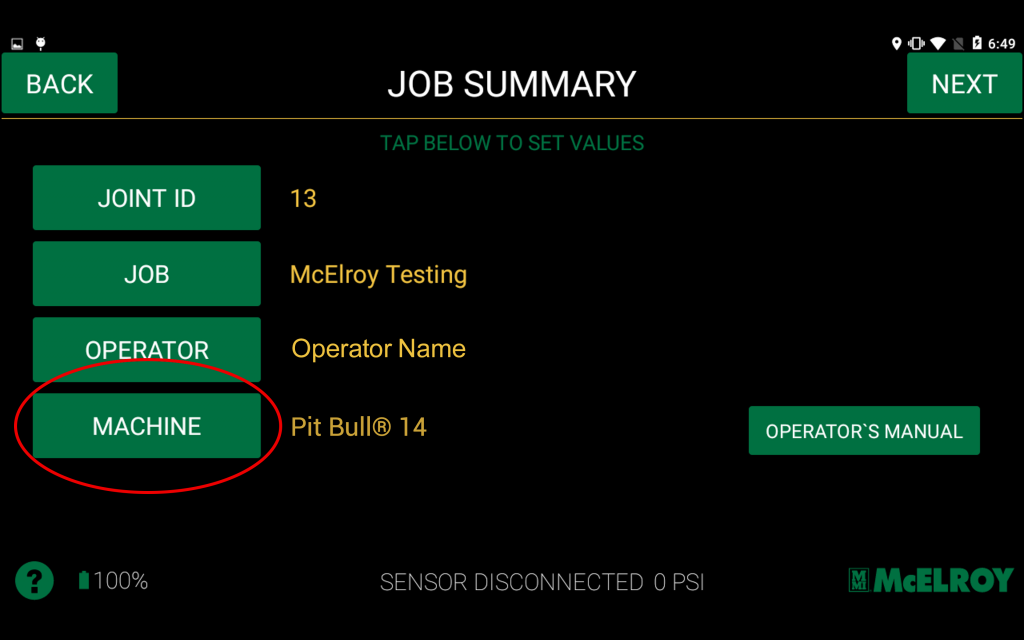
A digital job summary screen displays fields for Joint ID, Job, Operator, and Machine, with Pit Bull® 14 selected for Machine and circled in red. The screen includes navigation buttons and the McElroy logo.

2. Choose Fusion Type and Standard used.
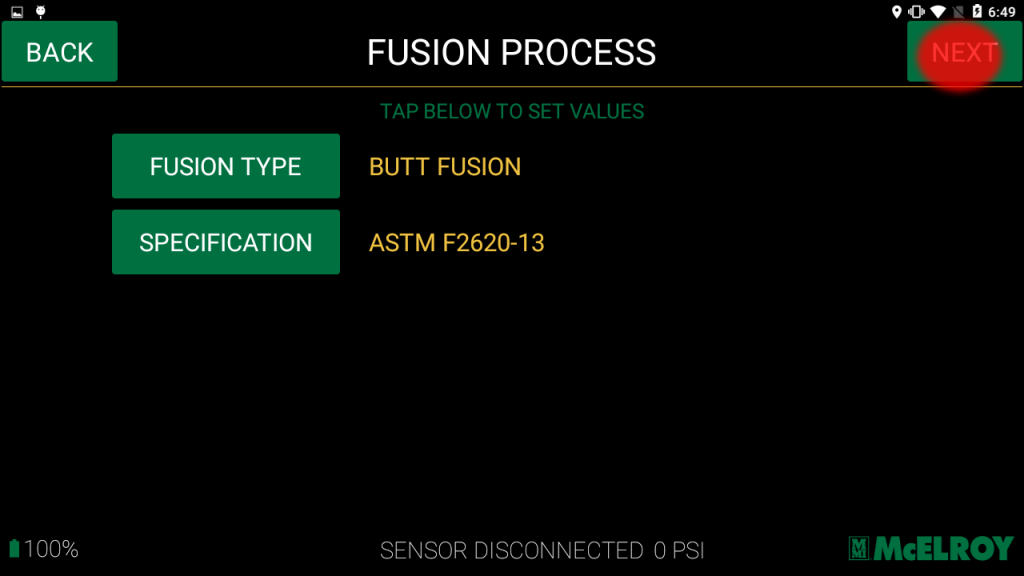
A digital display screen shows options for a fusion process. Fusion Type: Butt Fusion and Specification: ASTM F2620-13 are selected. At the bottom, Sensor Disconnected 0 PSI is displayed.

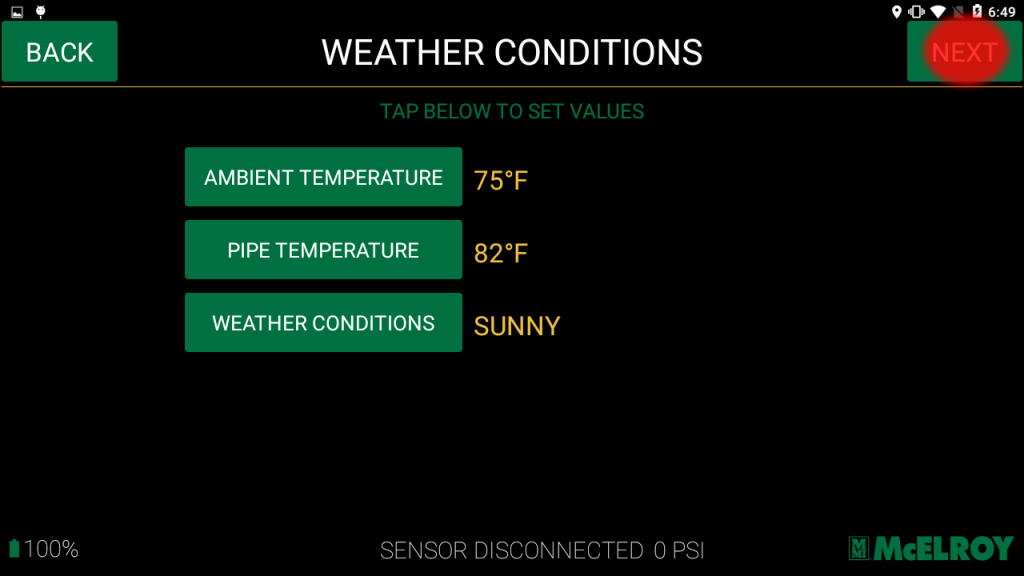
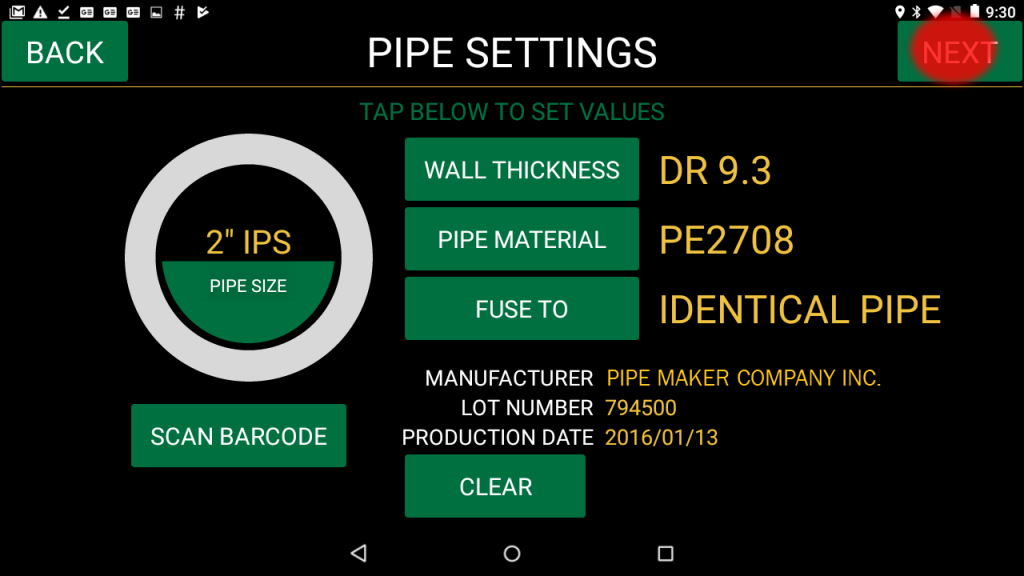
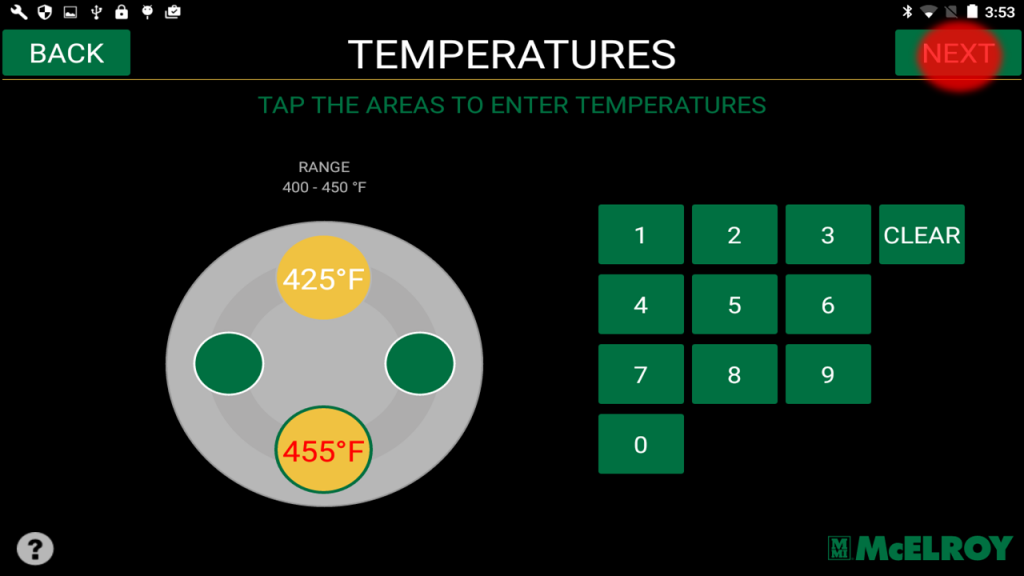
3. Capture setup photos, document jobsite conditions, pipe details and heater temperature.
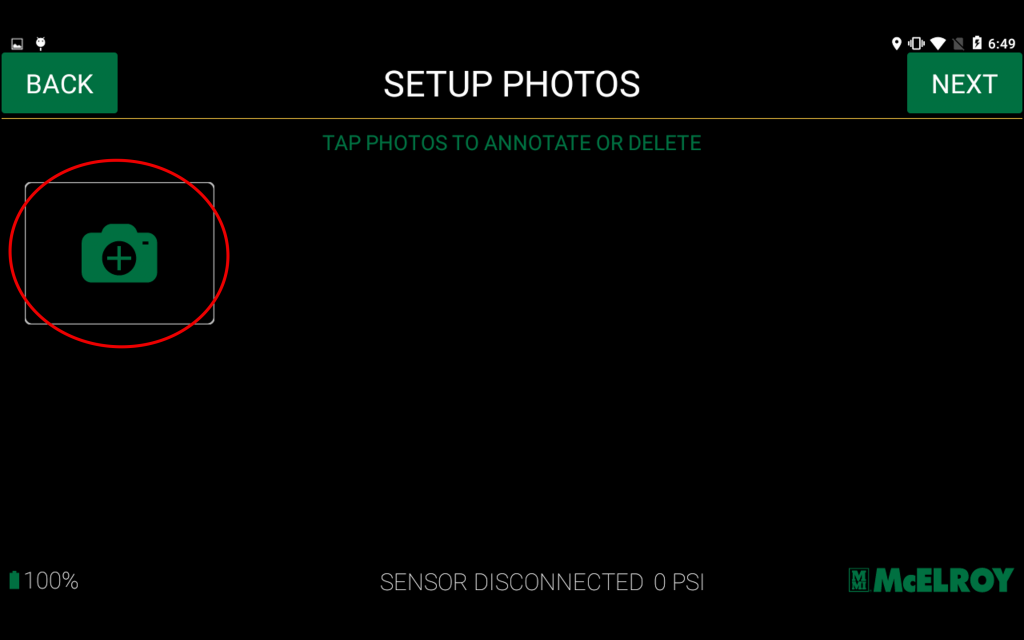
A screen displays Setup Photos with a green Back button on the left and Next on the right. A large red-outlined camera icon with a plus sign is centered. The status bar shows battery, time, and Sensor Disconnected 0 PSI.

A digital screen displays weather conditions: ambient temperature 75°F, pipe temperature 82°F, and weather conditions sunny. Sensor is disconnected with 0 PSI. Next and Back buttons are in the top corners.

A digital pipe settings screen showing pipe size, wall thickness, material, fuse options, manufacturer, lot number, and production date. A large green circle highlights 2 IPS PIPE SIZE on the left side.

A digital interface for entering temperatures, showing two temperature values: 425°F in yellow and 455°F in red. A keypad with numbers 0-9 and a clear button is on the right. The screen header reads TEMPERATURES.

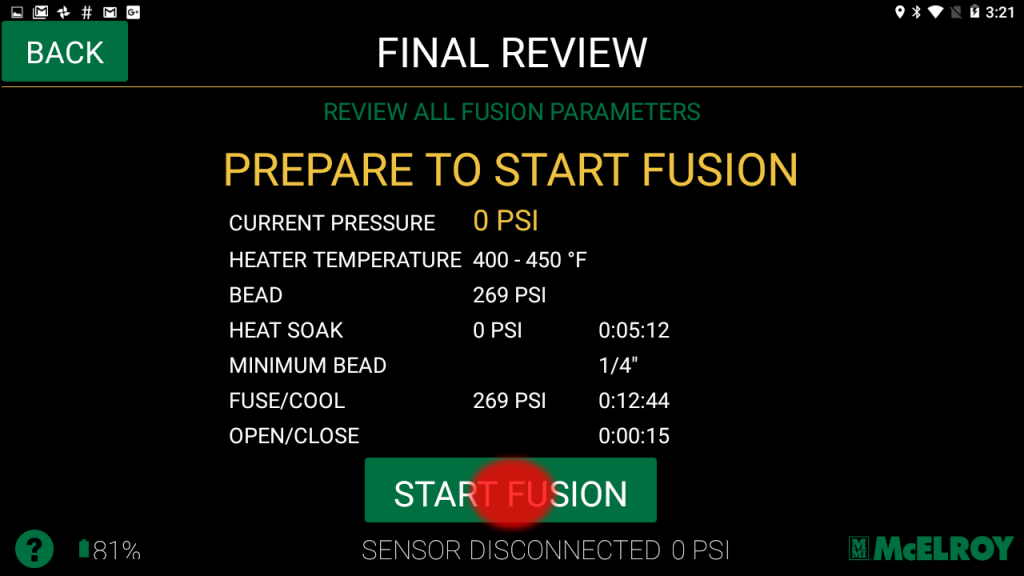
3. Review details.

A digital display screen shows a fusion machine review. Key info: prepare to start fusion, current pressure 0 PSI, heater temperature 400–450°F, bead 269 PSI, various times, and a highlighted “START FUSION” button at the bottom.

4. Begin fusion.

The DataLogger will record all important details, but will not capture any pressures or time.
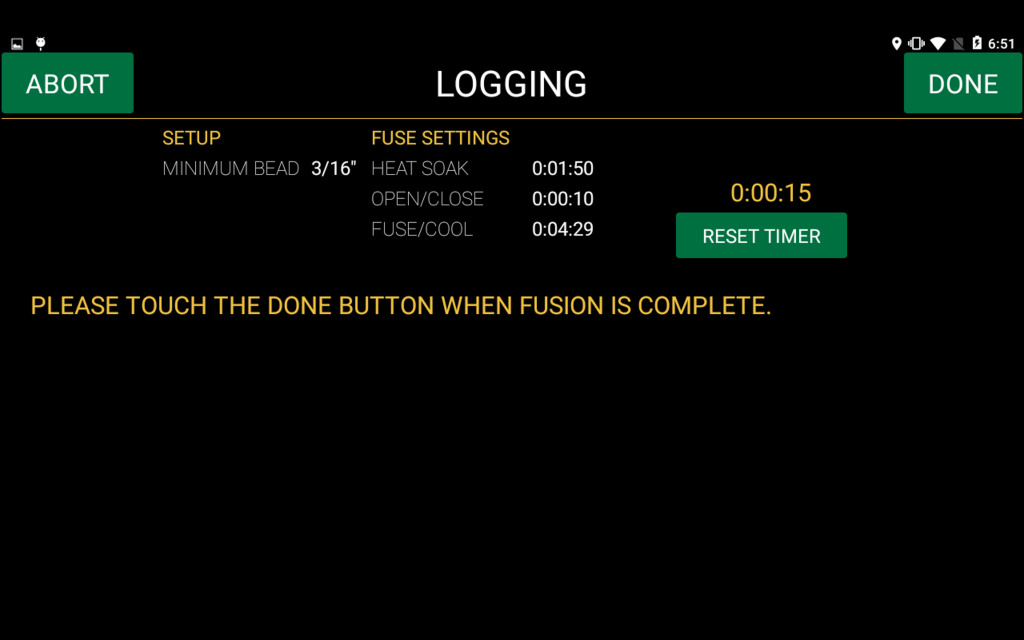
A digital logging interface displays fuse settings and a timer. Buttons labeled ABORT and RESET TIMER are visible. Instructions read: Please touch the done button when fusion is complete.

5. Once the fusion is complete, push “Done.”
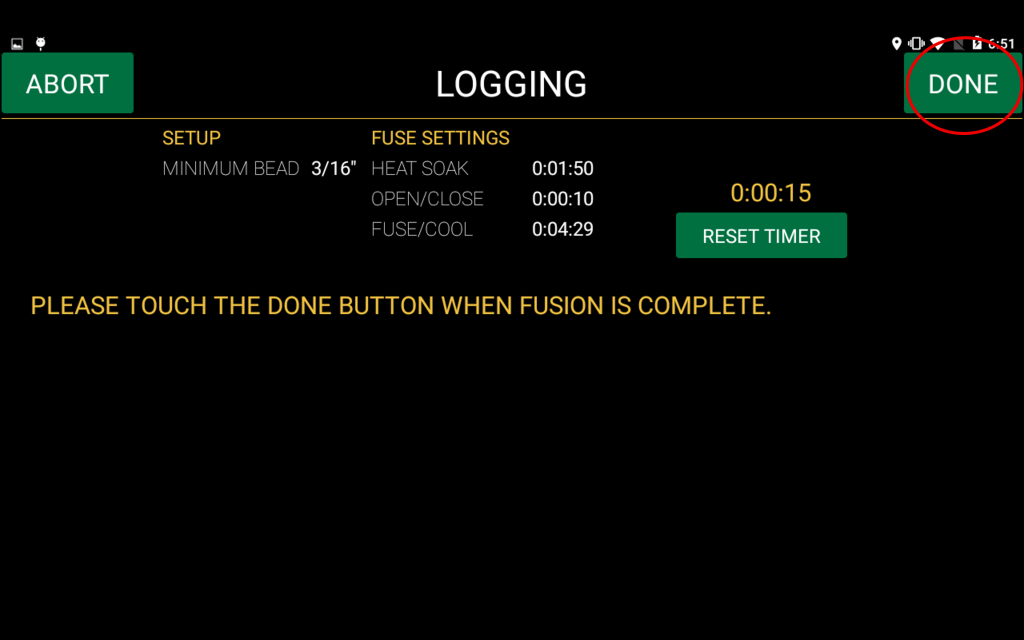
A screen displaying fusion logging instructions, including fuse settings and timers. A green ABORT button is at the top left, and a blue DONE button is at the top right, which should be pressed when fusion is complete.

6. Add any notes and photos related to the joint and “Save.”

Manual fusions will be included in your list of joint reports helping to capture the data of your entire fusion job. They can then be uploaded to the Vault™ for storage, sharing and analysis.
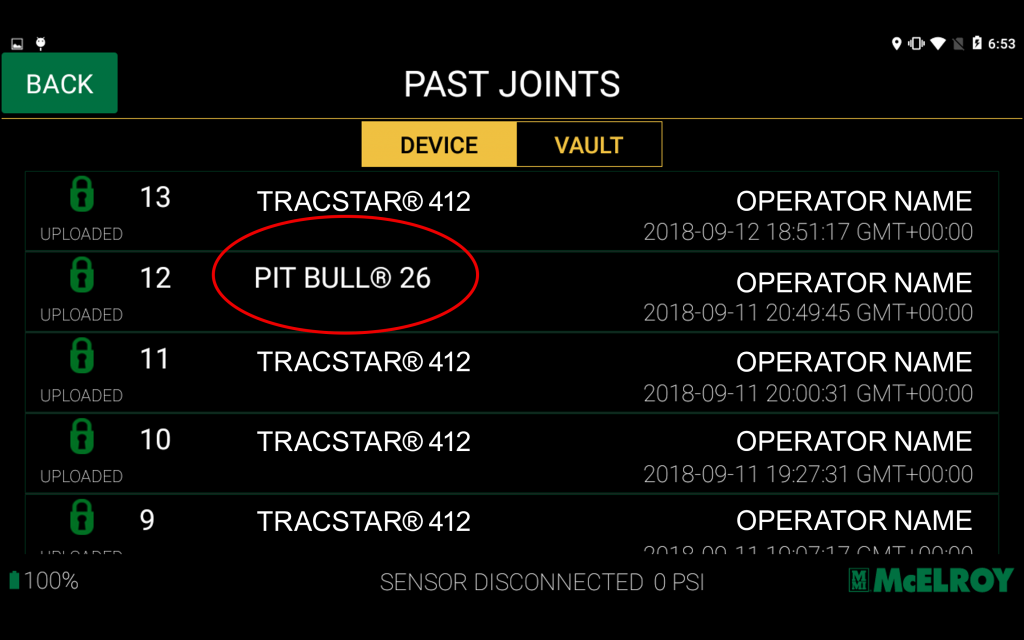

A screen showing a list of past joints with device names and upload status; PIT BULL® 26 is circled in red. Other listed devices are TRACSTAR® 412. The time, date, and operator name are also shown.