TO CHAMFER OR NOT TO CHAMFER
The process of chamfering the end of a pipe creates a smooth, beveled edge which reduces the amount of molten material that is displaced during the heat soak. It makes the insertion process easier and aids in proper alignment.
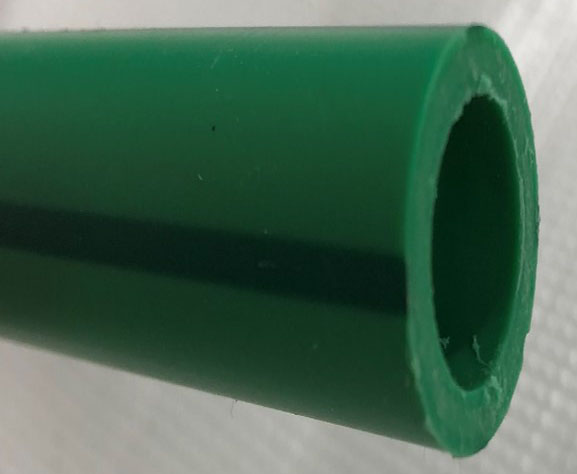
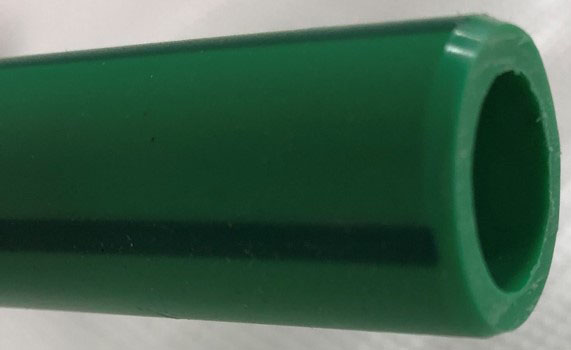
CHAMFERING THE PIPE END
Chamfering the pipe end is a very quick process that results in a better fusion inspection and a better aligned fusion.
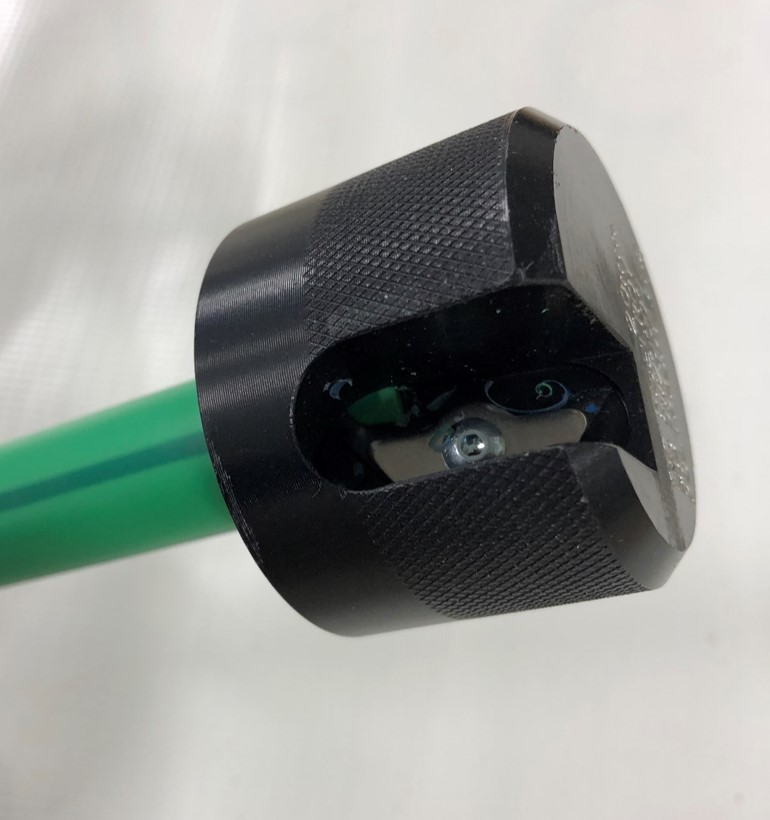
SETTING THE STAB DEPTH
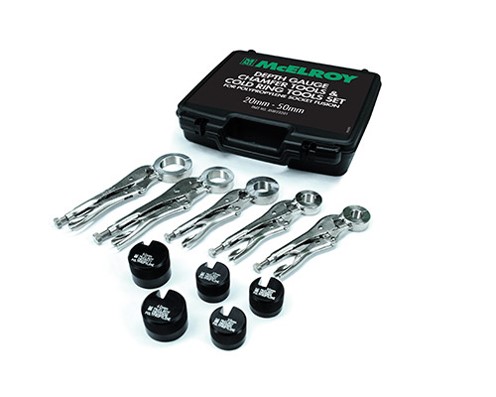
The chamfer tool is also your depth gauge for ensuring the proper stab depth. With the pipe bottomed out within the chamfer tool, the cold ring tool can be attached. The cold ring tool attaches around the pipe while butted up against the chamfer tool. Once the cold ring tool is locked in place, the chamfer tool can be removed for the heating process.
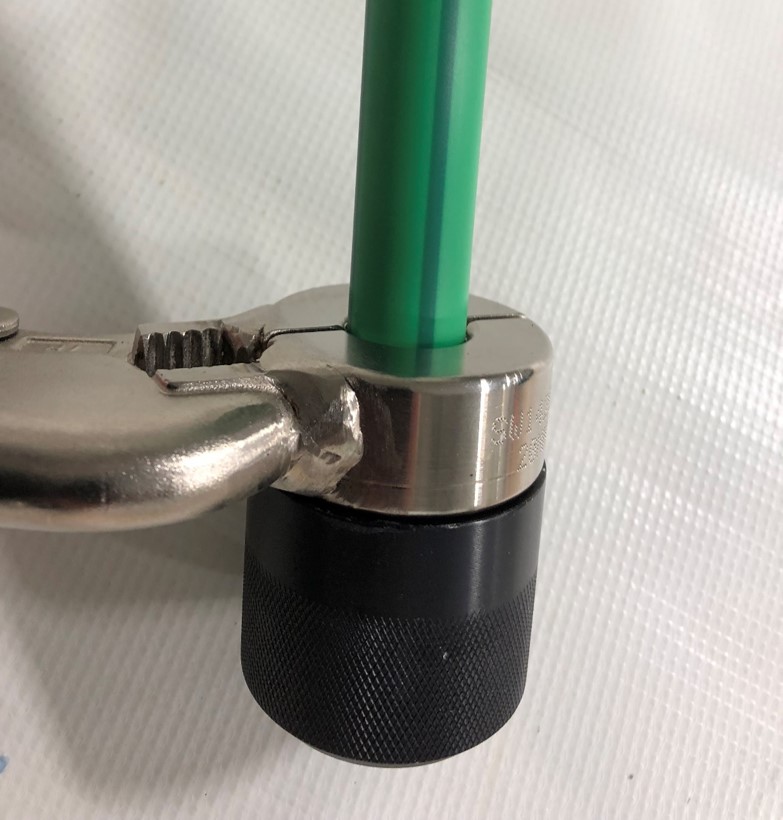
COLD RING TOOL FOR HEATING
When using the cold ring tool, you can achieve better alignment because the ring bottoms out against the heater adapter. This ensures even heating throughout the interfacial area. The use of the cold ring tool also creates a hard stop which prevents the heating of any pipe area that is not intended to be inserted into the fitting after the heat soak.
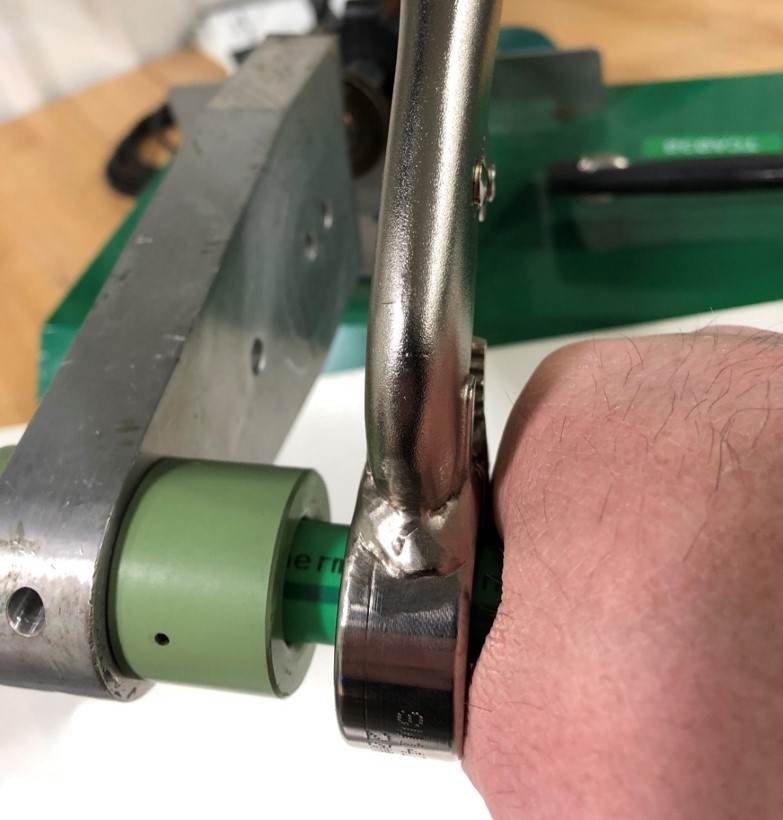
PROPER HEAT SOAK
Once the heat soak is completed, inspect the pipe end and fitting before starting the fusion process. The greatest benefit of using the cold ring tool and chamfer is the step when the fusion process begins. Because the pipe end was chamfered, there is reduced displacement of molten material, easier fitting and proper alignment when the pipe is inserted into the fitting. The cold ring tool will be bottomed out against the fitting and held in place during the cool cycle.
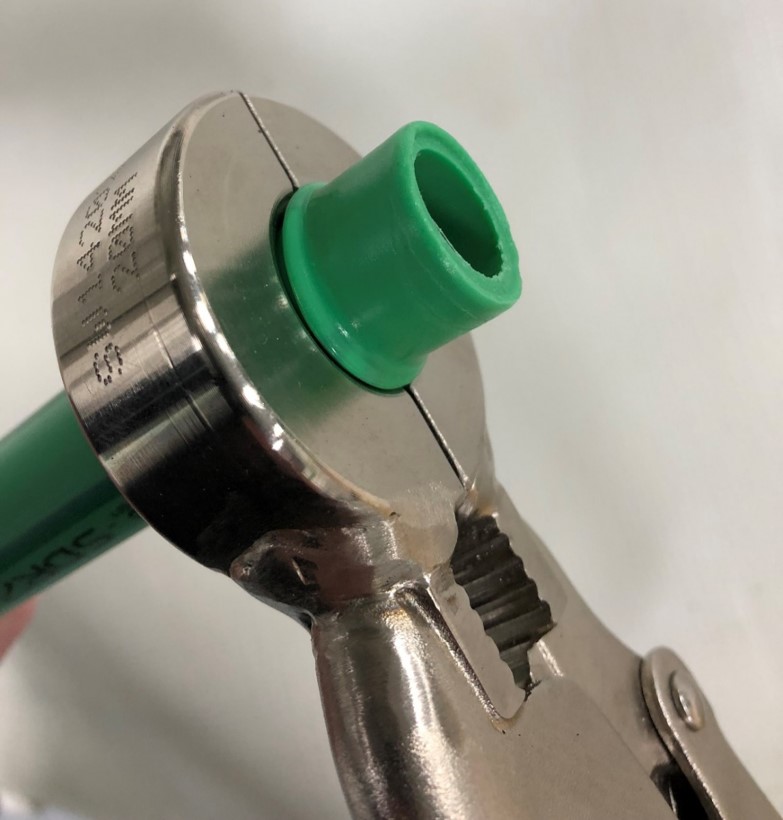
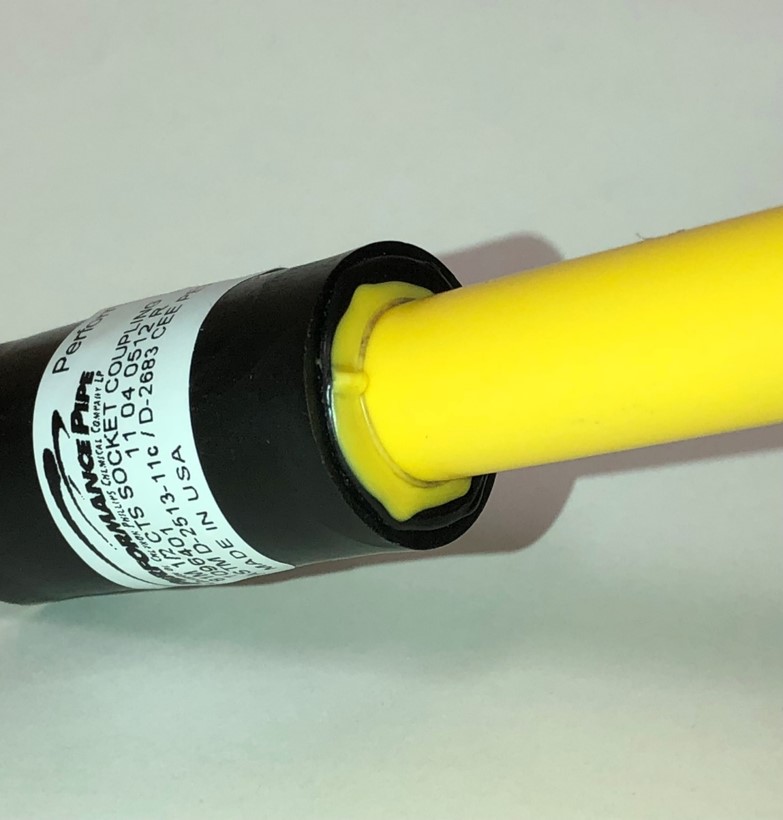
SOCKET FUSED JOINT INSPECTION
You can tell instantly that the melt pattern will be tighter using the cold ring tool. The melted material will be closer to the fused area and not pooled on one side or the other. The finished fusion will show an indication of the cold ring tool around the joint and have no visible gaps or voids per ASTM F2620-19.
Follow these links for information on all of McElroy’s socket fusion tools for polyethylene and polypropylene pipe.
SOCKET FUSION KITS FOR POLYPROPYLENE