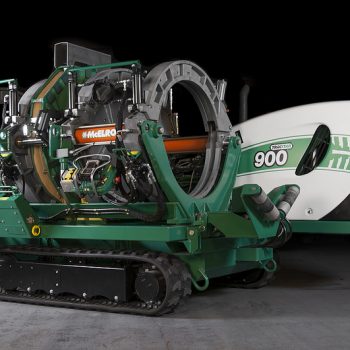
McElroy’s DataLogger® now includes the option to enable tracking notifications through the Vault™.
Tracking notifications allow DataLogger owners to know the location of their DataLogger if the tablet is lost or stolen.
To enable tracking notifications:
1. Log in to the Vault using your username and password.
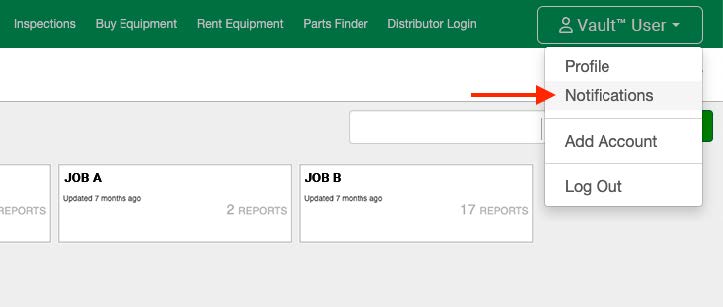
2. From your account home page, navigate to the drop-down menu below your name and click on “Notifications”.
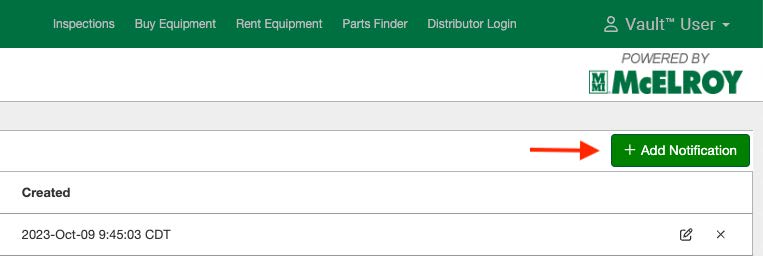
3. This page will list all of the notifications created for the account. Notifications here can be edited and/or deleted at any time. Click on the + Add Notifications button to add the DataLogger tracking notification.
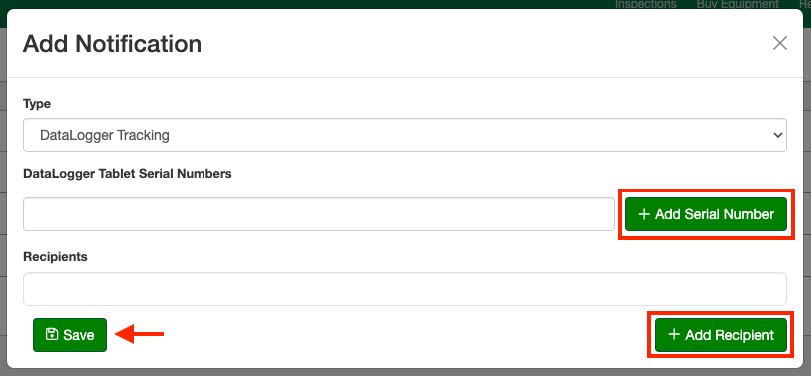
4. From the Add Notification dialog box, select the “Type” drop-down menu and select the “DataLogger Tracking” menu item.
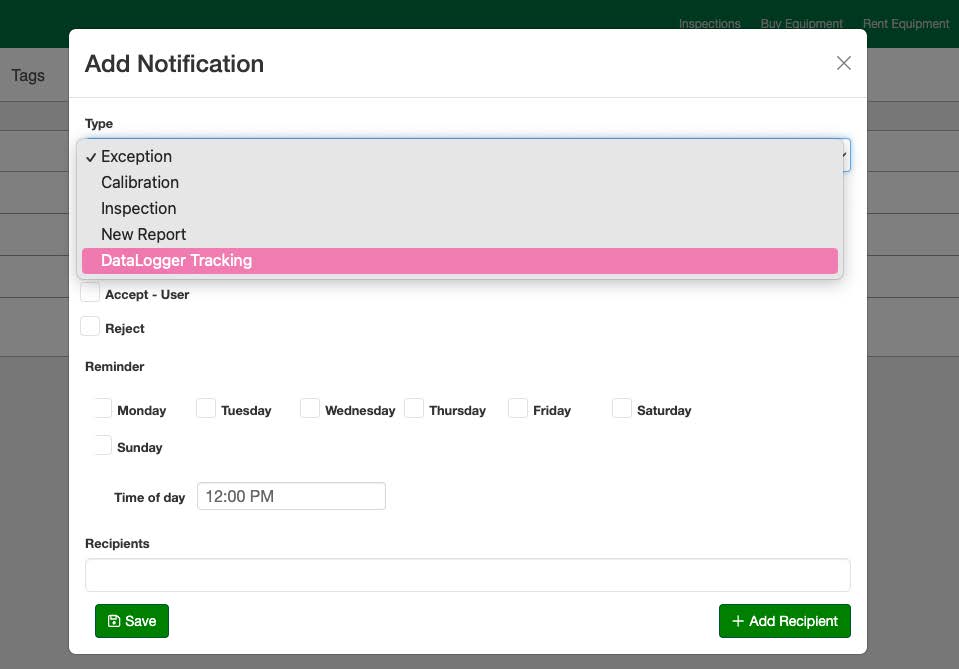
5. Once, “DataLogger Tracking” has been selected, enter the serial number in the first text field and click the +Add Serial Number button (multiple serial numbers can be added at one time, additional text fields will be generated when the button is clicked.) To add email notifications, add as many email addresses as applicable under “Recipients.” Clicking +Add Recipient will add additional fields as well.
6. Click Save to finish adding the notification.
7. Additional notifications can be added using the same process though input fields may vary depending on the notification “Type.”