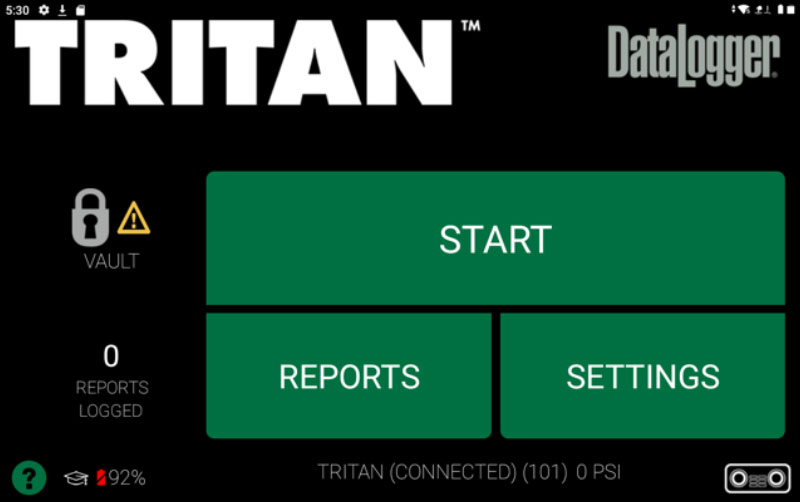
Trainer Mode is one of the latest functions added to the DataLogger® 7. With Trainer Mode, users can simulate fusions conducted with the DataLogger tablet, without the need for a fusion machine.
This allows new or inexperienced operators to familiarize themselves with both the fusion process and the DataLogger itself.
Trainer Mode also includes an option to streamline the training process by shortening the amount of time needed for simulated heat soak and fuse/cool times. Simulated fusions for training purposes are available for multiple McElroy machines, including the TracStar® 1200i, TracStar® 412i, and Tritan® 560.
Read on to learn how to enable Trainer Mode.
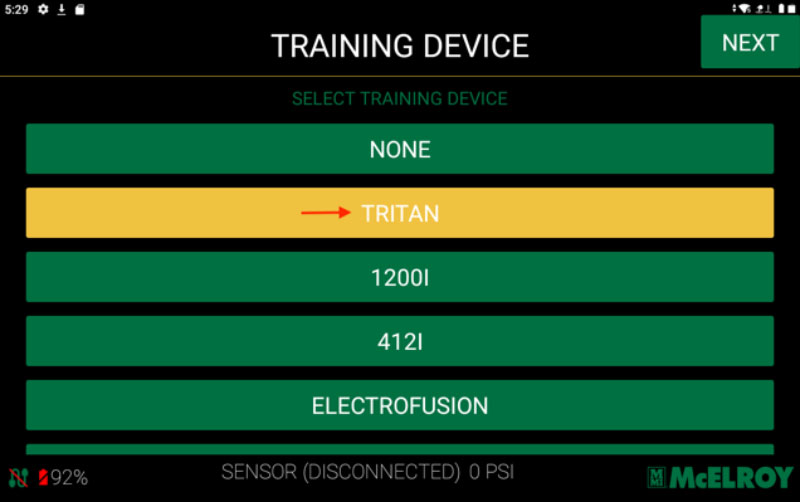
NOTE: The Tritan 560™ is used in the below example.
1. From the DataLogger application home screen, tap “Settings.”
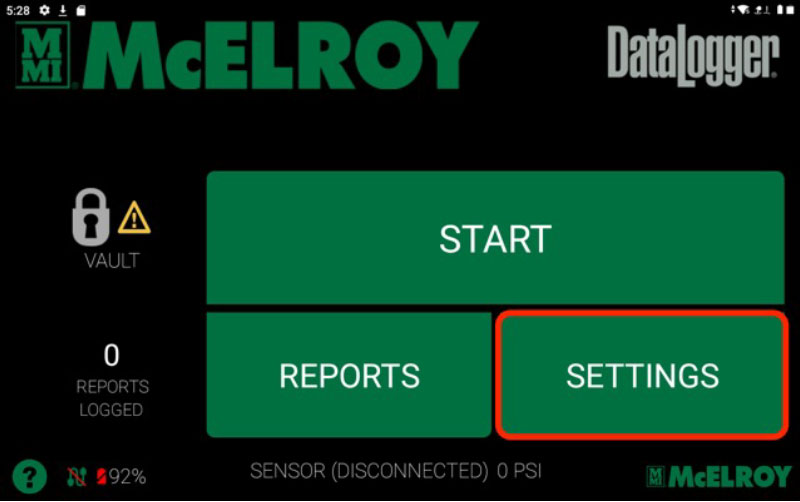
2. From the “Settings” screen tap the “System” button.
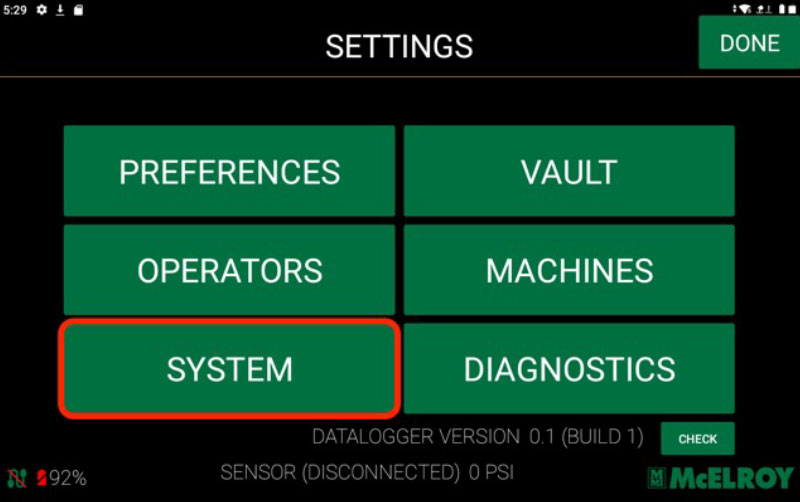
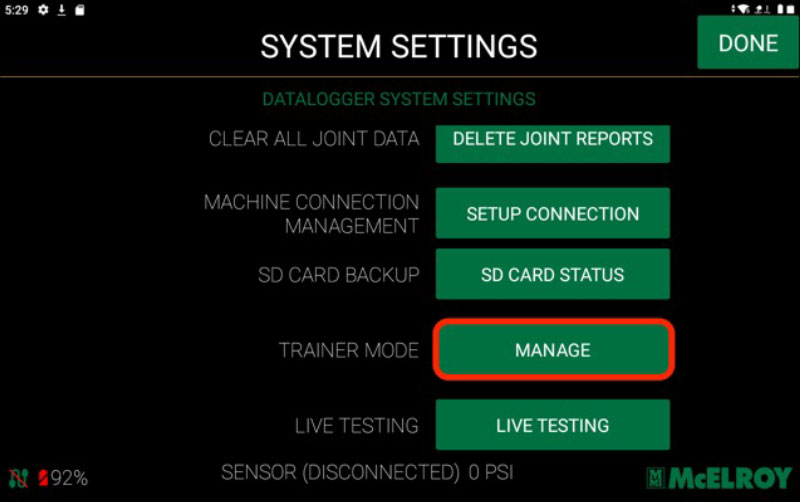
3. Scroll to the end of the list of settings to Trainer Mode. Tap “Manage” to view the additional settings and enable.
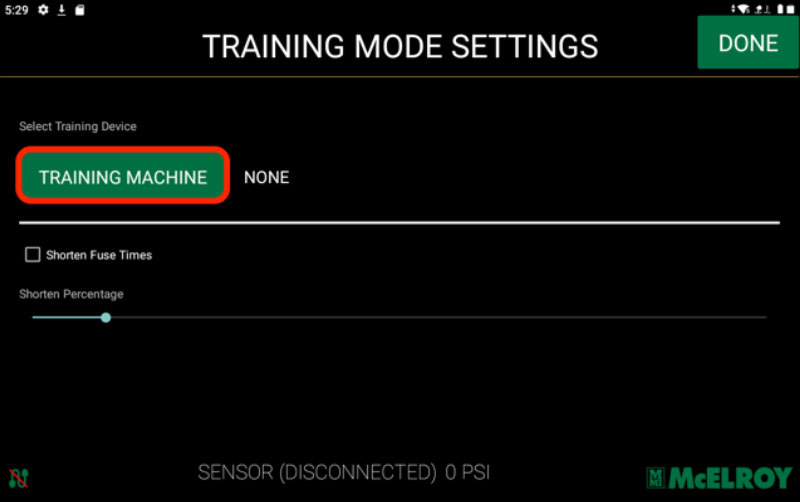
4. By default, no machine will be selected. Tap on the “Training Machine” button to select a machine.
5. Once the machine is selected from the list tap “Next.”
6. The label next to the “Training Machine” button will now show the selected machine name. Tap the checkbox next to Shorten Fuse Times to reduce the duration of each step in the fusion process for training purposes.
7. At this point, the status bar at the bottom will indicate that the selected machine is connected and will show corresponding icons/controls.
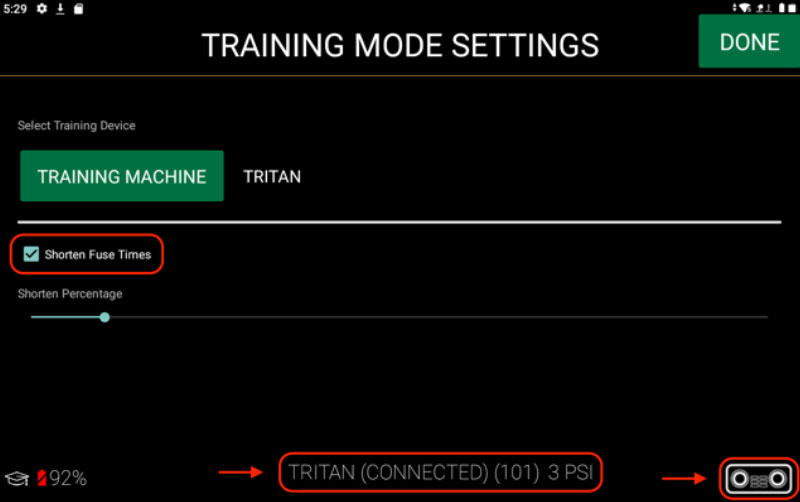
8. When trainer mode is “active” a graduation cap icon will appear next to the battery percentage on the left.

9. The Shorten Percentage slider (below the shorten fuse times checkbox) indicates an adjustable value to reduce the percentage of fusion time. For example, sliding the indicator to the halfway point indicates a 50% reduction in heat soak and fuse/cool times (cutting fusion time in half for training purposes).
10. Tapping “Done” and navigating back to the home screen will show the machine logo in the top left and function as if physically attached to the machine. Fusion operations can now be performed as normal.